
Parlez-vous français? No? Well, if you can’t speak French, at least you can enjoy French pastry.
French pastries have a style like no other. They look, smell and taste ‘out of this world’ delicious. I like it so much, that I decided to learn more about it. So, I’m currently taking Pastry Techniques through the Amateur Pastry Arts Program at The French Culinary Institute in New York City.


Someone PINCH ME! I love learning in my pastry class.


As Dorothy Cann Hamilton, Founder of The French Culinary Institute would say, Love what you do!
One month into the pastry class, FCI students and I volunteered to help out at the New York Culinary Experience on October 3rd, 2010. We were assigned to Jacques Torres class, “Halloween Chocolates”. It was so much fun. When you’re surrounded by chocolate, it’s easy to have a SMILE on your face!

Jacques Torres is interviewed...


In 1996, Master Chef Jacques Torres, Dean of Pastry Arts, designed The French Culinary Institute’s Classic Pastry Arts curriculum. In 2000, Chef Torres opened Jacques Torres Chocolate, selling via the retail, wholesale, and internet markets. He is also known as Mr. Chocolate. I visited his Upper Westside chocolate store in Manhattan on Amsterdam Avenue in December 2009. You can see photos of the chocolate store on my blog post dated 1/31/10.

Jacques Torres’ creed is as follows…“Life is short, eat dessert first”
Chef Rebecca Kaiser
Classic Pastry Arts: Pastry Chef-Instructor

Rebecca Kaiser holds advanced degrees in both culinary arts and education. As for her own tastes, she knows she can never go wrong with a fresh fruit tart topped with a drizzle of crème fraîche. She joined The FCI in 2003.
Chef Rebecca is my chef-instructor for the course I’m taking, Pastry Techniques.


Chef Claudia Silva
Classic Pastry Arts: Pastry Chef-Instructor

Classic Pastry Arts: Pastry Chef-Instructor
Chef Claudia had changed the track of her career entirely, swapping cooking for engineering. Degrees in culinary arts, desserts, and pastry quickly followed, obtained in Chile as well as New York and Barcelona. She joined The FCI in 2006.
Chef Claudia assists Chef Rebecca in our classes. She is very knowledgeable and great to work with.
Chef Christopher Ciresi
Classic Pastry Arts: Pastry Chef-Instructor

Chef Christopher also assisted in Chef Rebecca’s absence. He’s got a lot of passion for pastry. He shared lots of tips and imparted a lot of information. Cool stuff!
Chef Christopher and Chef Claudia


Chef Tai Chopping
Classic Pastry Arts: Pastry Chef-Instructor
“With over two decades of cross-Atlantic experience in fine dining restaurants and hotels, Chef Tai Chopping brings a variety of experience to The FCI’s pastry program. Following graduation with honors from Johnson & Wales, Chef Tai spent the next several years under the pastry tutelage of Gray Kunz and Christian Delouvrier at New York’s Lespinasse, moved to southern France to work with esteemed Michelin®-rated Chef René Berard, then came back to the US to further expand her repertoire in the legendary kitchens of Charlie Palmer and Mario Batali. In 2006 she opened New York’s Del Posto with Batali and Lidia Bastianich. Chef Tai came to The FCI with a desire to help develop new generations of pastry chefs and loves to learn new tricks everyday! Joined The FCI in 2010.”
Chef Tai assisted Chef Rebecca in our pastry classes in the beginning of the course. I wasn’t able to get a photo of Chef Tai to add here. But, she was great to work with.
All the students in class are paired up and work in teams. Caitlin is my team partner.
So, I thought I’d introduce her in the
FCI STUDENT SPOTLIGHT.
So, I thought I’d introduce her in the
FCI STUDENT SPOTLIGHT.
The ‘spotlight’ gives you a glimpse about the person behind the chef coat.

FCI STUDENT SPOTLIGHT ~ Caitlin Jensen

Caitlin . . .
• Grew up at the Jersey Shore.
• Has a degree in Marketing.
• Worked in the Non-Profit sector for five years as a grantwriter and event planner.
• Is pursuing dream of opening a bakery...one step at a time.

• Got married in June to Patrick.
• Is a vegetarian.
• Favorite cuisines ~ Indian and Mexican.
• Favorite thing to bake - brownies...so I can snack on them myself!
• Enjoys going to the movies solo.
• Loves to travel.


~ ~ ~ ~ ~ ~
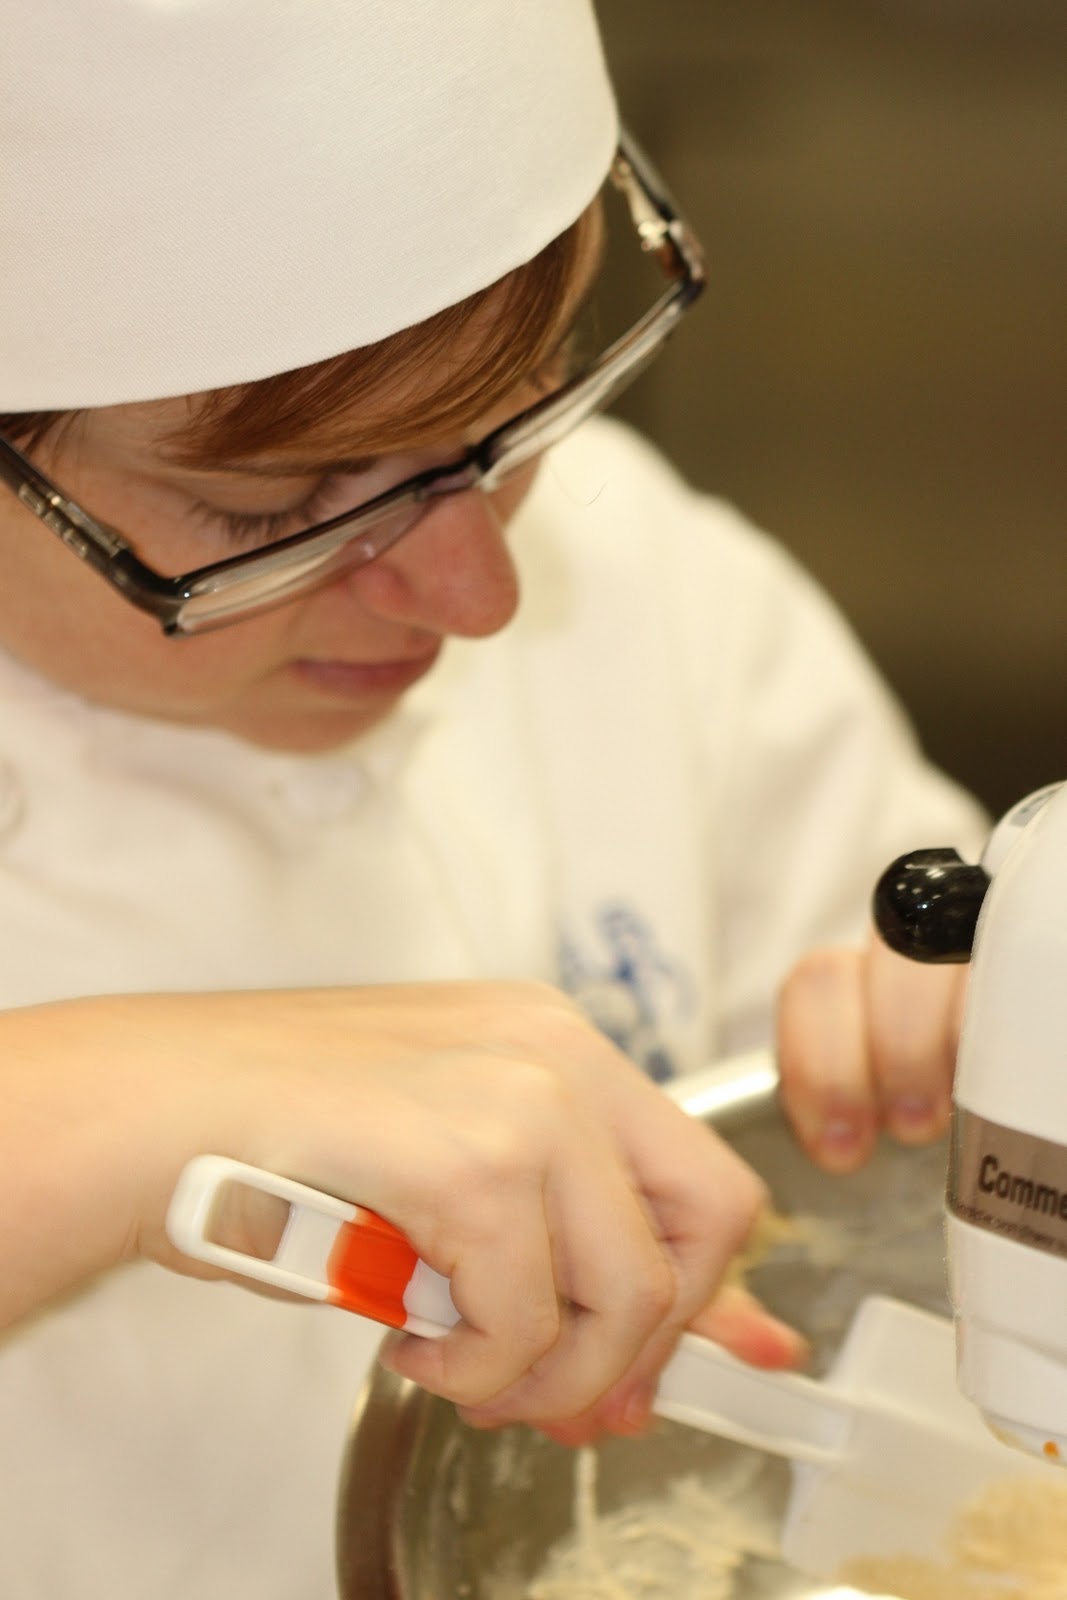


A DAY IN THE LIFE OF FCI STUDENTS
IN THE PASTRY KITCHEN


FCI students that appear in this blog:
Adriana Velez
Angel Han
Caitlin Jensen
Carmen Ortiz
Carrie Cullen
Jose Toro
Lauren Lupardo
Lloyd Gould
Marcela Curry
Sara Hopper
Shahul Hameed
Soo Hyun Kang
Tomoko Kubo
Xiaoran Zheng
The French Apple Tart was our first recipe to bake in class. This is one classy dessert. It is definitely one recipe you'll enjoy.
Tarte aux Pommes (Apple Tart)
Credit: The Fundamental Techniques of Classic Pastry © 2009, The French Culinary Institute - Recipe on pages 96-99
Published by Harry N. Abrams, Inc., New York. All rights reserved.

Servings: Makes one 9-inch tart
Estimated time to complete: 90 minutes
INGREDIENTS
Flour for dusting
1 recipe Pate Brisee, Pate Sucree or Pate Sablee (see pages 92, 94, and 95)
FOR THE COMPOTE
370 grams (13 ounces) Golden Delicious apples
½ lemon
75 grams (2 2/3 ounces) sugar
1 vanilla bean, split lengthwise
FOR THE GARNISH
3 (about 1 pound) Golden Delicious apples
½ lemon
FOR THE NAPPAGE
100 grams (3 ½ ounces) apricot jam
EQUIPMENT
Rolling pin
Pastry brush
9-inch tart pan
Vegetable peeler
Paring knife
Melon baller, optional
Medium saucepan
Wooden spoon
Rubber spatula
Baking sheet with sides
Plastic film
2 small bowls
Metal spoon
Wire rack
Small saucepan
Fine-mesh sieve
Serving platter
Prepare your mise en place.
Lightly flour a clean, flat work surface.
Place the dough in the center of the floured surface and, using a rolling pin, roll the dough out to a 25-centimeter (10-inch) circle about 3 millimeters (1/8 inch) thick.
Using a pastry brush, lightly brush off excess flour.
Roll the circle up and over the rolling pin and carefully transfer it to the tart pan.
Using your fingertips, gently press the dough into the pan to make a neat fit.
Pinch off any excess dough around the edges to neaten.
Transfer the shell to the refrigerator for 30 minutes to chill.
While the dough is chilling, prepare the apple compote.
Using a vegetable peeler, peel the apples.
Using a paring knife, cut them in half lengthwise; remove the core with the paring knife or a melon baller.
Generously rub the apples with the cut lemon to prevent discoloration.
Do not put the apples in acidulated water or the natural juices and sugars will be leached out.
Cut the apples into 6-millimeter (1/4-inch) cubes, keeping the pieces as equal in size as possible so that they will cook evenly.
Combine the sugar and 50 milliliters (3 tablespoons plus 1 teaspoon) water in a medium saucepan over medium heat.
Add the apples and, using a paring knife, scrape the seeds from the vanilla bean into the pan.
Add the scraped bean, cover, and place over low heat.
Cook, stirring occasionally with a wooden spoon, for about 20 minutes, or until the apples are translucent and all the moisture has evaporated.
Take care that the apples do not disintegrate-you want a chunky mixture.
If the apples are cooked before the moisture has evaporated, uncover the pan and raise the heat to high to quickly dry them out.
If the moisture evaporates before the apples are ready, add a tablespoon of water or the apples will begin to caramelize and burn.
Remove the pan from the heat, and, using a rubber spatula spread the compote out on a sheet pan to stop the cooking.
Cover with plastic film and let cool.
While the compote is cooling, prepare the garnish.
Using a vegetable peeler, peel the apples.
Using a paring knife, cut them in half lengthwise; remove the core with the paring knife or a melon baller.
Generously rub the apples with the cut lemon to prevent discoloration.
Do not put the apples in acidulated water or the natural juices and sugars will be leached out.
Using a chef’s knife cut each apple half lengthwise into very thin slices, no more than 3 millimeters (1/8 inch) thick.
Place the apple slices in a small bowl, and, using the lemon half, squeeze lemon juice over them, tossing to coat.
Preheat the oven to 177 degrees Celsius (350 degrees Fahrenheit).
Remove the tart shell from the refrigerator.
Spoon the apple compote into the shell, spreading it out with a rubber spatula to make an even layer that fills the shell three-quarters full.
Starting with the outside edge, begin arranging the apple slices, slightly overlapping, in concentric circles over the top of the compote.
Fill in any holes with apple scraps and then finish the center with a tight circle of apple slices.
Bake for about 1 hour, or until the crust is golden and the apple slices are beautifully caramelized and cooked through.
Remove from the oven and place on a wire rack to cool slightly.
To make the glaze, combine the apricot jam with 20 milliliters (3 tablespoons plus 1 teaspoon) water in a small saucepan over medium heat and cook for just about a minute to heat through.
Remove from the heat and press through a fine-mesh sieve into a small bowl.
Set aside.
Unmold the tart and place on a serving platter.
Using a pastry brush, lightly coat the entire top with the warm apricot glaze.
Serve warm or at room temperature.
TIPS
The tart may be made ahead and refrigerated for up to 2 days before baking. If so, lightly coat the top with melted, unsalted butter and cover with plastic film before storing.
For additional sweetness and flavor, sprinkle the top of the tart with granulated sugar or vanilla sugar (see page 82) before baking.
EVALUATING YOUR SUCCESS
The apples should be uniform, even and very thin.
The apricot nappage should completely, but lightly, cover the apples.
The crust should have an even edge.
The apples should be uniformly browned when the tart has finished baking.
When properly baked, the crust will be completely cooked in the center.
~~~~~~~~~~~~~~~~~~~~~~~~~~~~~~~~~~~~~~~~~~~~~~~~~~~~~~~~~~~~~~~~~~~~
Check out Good Morning America’s website, which includes the PASTRY CRUST recipe.
Peace in baking,
Carmen

Baking is my Zen…sweet nibbles for the soul