Hello! How are you today?
This is post 6 of 7 of the Baked Series.
Home Stretch! Giveaway day almost here.
I’m doing seven posts this week (8/8 – 8/14) from the book
by Matt Lewis and Renato Poliafito
Baking is my Zen will be having a
from August 8 through August 14, 2010.
The giveaway will be the ‘not yet released’ cookbook,
By Matt Lewis and Renato Poliafito
Their book is due for release in October 2010. When it is available, the winner of the giveaway will receive a copy from…yours truly…Me.
In addition, you’ll receive a Baking is my Zen T-Shirt.
Here are THE RULES for all seven posts (8/8 - 8/14):
• Contest starts on Sunday, 8/8/10 at 12a.m. EST.
• Contest ends on Tuesday, 8/17/10 at 11.59p.m. , EST.
• Winner announced on Wednesday, 8/18/10 by 5pm, EST.
• Find the WORD OF THE DAY within each post. Type it in the comment box as follows: Example: word of the day: bake
• You can post your comment daily in each post or all at once.(due by 8/17)
• All seven posts must have a comment with the ‘word of the day’ indicated.
NOTE: THIS GIVEAWAY IS OPEN FOR U.S. ONLY.
To make it easy, I have the word of the day very visible for you. Remember, you need to type or copy and paste the word of the day (insert word) in the comment box.
This is EXACTLY how it is to appear in the comment box:
word of the day: fleur de sel
So, today’s word of the day: fleur de sel
Here are several bloggers who also made the Sweet and Salty Cake.
Check out their great blogs!

Sweet and Salty Cake
From the cookbook Baked-New Frontiers in Baking by Matt Lewis and Renato Poliafito
Original Recipe below
Adapted Recipe Photo Tutorial by Carmen of Baking is my Zen

Yield: 1 (8-inch) cake
This is our signature creation, our most loved cake, and our most requested recipe. Is all this attention warranted? Absolutely. Our Sweet and Salty Cake is an indulgent but sophisticated adult sweet: The perfectly salted caramel contrasts beautifully with the rich chocolate layers, giving the cake balance and character. It probably goes without saying that the salted caramel is also delicious poured over dark chocolate ice cream.
Baked Note
Fleur de sel, or sea salt, is readily available at grocery stores; however, there is a whole world of specialty salts now available online and at specialty food markets (see Sources, page 198 of the book). Gray salt (sel gris) , Hawaiian sea salt, Italian sea salt, and smoked sea salt will all work well in this recipe, though with slightly different (but always delicious) results.
For the Classic Chocolate Cake Layers
3/4 cup dark unsweetened cocoa powder
1-1/4 cups hot water
2/3 cup sour cream
2-2/3 cups all-purpose flour
2 teaspoons baking powder
1 teaspoon baking soda
1/2 teaspoon salt
3/4 cup (1-1/2 sticks) unsalted butter, softened
1/2 cup vegetable shortening
1-1/2 cups granulated sugar
1 cup firmly packed dark brown sugar
3 large eggs, at room temperature
1 tablespoon pure vanilla extract
For the Salted Caramel
1/2 cup heavy cream
1 teaspoon fleur de sel
1 cup sugar
2 tablespoons light corn syrup
1/4 cup sour cream
For the Whipped Caramel Ganache Frosting
1 pound dark chocolate (60 to 70% cacao), chopped
1-1/2 cups heavy cream
1 cup sugar
2 tablespoons light corn syrup
2 cups (4 sticks) unsalted butter, soft but cool, cut into 1/2-inch pieces
To Assemble the Cake
2 teaspoons fleur de sel, plus more for garnish
Make the Classic Chocolate Cake Layers
1. Preheat the oven to 325 degrees Fahrenheit.
2. Butter three 8-inch round cake pans, line the bottoms with parchment paper, and butter the parchment.
3. Dust with flour, and knock out the excess flour.
4. In a medium bowl, combine the cocoa powder, hot water, and sour cream and set aside to cool.
5. Sift the flour, baking powder, baking soda, and salt together into a medium bowl and set aside.
6. In the bowl of an electric mixer fitted with the paddle attachment, beat the butter and shortening on medium speed until ribbonlike, about 5 minutes.
7. Add the sugars and beat until light and fluffy, about 5 minutes.
8. Add the eggs, one at a time, beating well after each addition, then add the vanilla and beat until incorporated.
9. Scrape down the bowl and mix again for 30 seconds.
10. Add the flour mixture, alternating with the cocoa mixture, in three additions, beginning and ending with the flour mixture.
11. Divide the batter among the prepared pans and smooth the tops.
12. Bake for 35 to 40 minutes, rotating the pans halfway through the baking time, until a toothpick inserted in the center of each cake comes out clean.
13. Transfer the cakes to a wire rack and let cool for 20 minutes.
14. Invert the cakes onto the rack, remove the pans, and let cool completely.
15. Remove the parchment.
Make the Salted Caramel
1. In a small saucepan, combine the cream and fleur de sel.
2. Bring to a simmer over very low heat until the salt is dissolved.
3. Meanwhile, keeping a close eye on the cream mixture so it doesn't burn, in a medium saucepan combine 1/4 cup water, the sugar, and corn syrup, stirring them together carefully so you don't splash the sides of the pan.
4. Cook over high heat until an instant-read thermometer reads 350 degrees F., 6 to 8 minutes.
5. Remove from the heat and let cool for 1 minute.
6. Add the cream mixture to the sugar mixture.
7. Whisk in the sour cream.
8. Let the caramel cool to room temperature, then transfer to an airtight container and refrigerate until you are ready to assemble the cake.
Make the Whipped Caramel Ganache Frosting
1. Put the chocolate in a large heatproof bowl and set aside.
2. In a small saucepan, bring the cream to a simmer over very low heat.
3. Meanwhile, keeping a close eye on the cream so it doesn't burn, in a medium saucepan combine 1/4 cup water, the sugar, and corn syrup, stirring them together carefully so you don't splash the sides of the pan.
4. Cook over high heat until an instant-read thermometer reads 350 degrees F., 6 to 8 minutes.
5. Remove from the heat and let the caramel cool for 1 minute.
6. Add the cream to the caramel and stir to combine.
7. Stir slowly for 2 minutes, then pour the caramel over the chocolate.
8. Let the caramel and chocolate sit for 1 minute, then, starting in the center of the bowl, and working your way out to the edges, slowly stir the chocolate and caramel mixture in a circle until the chocolate is completely melted.
9. Let the mixture cool, then transfer it to the bowl of an electric mixer fitted with the paddle attachment.
10. Mix on low speed until the bowl feels cool to the touch.
11. Increase the speed to medium-high and gradually add the butter, beating until thoroughly incorporated.
12. Scrape down the bowl and beat on high speed until the mixture is fluffy.
Assemble the Cake
1. Place one cake layer on a serving platter.
2. Spread 1/4 cup of the caramel over the top.
3. Let the caramel soak into the cake, then spread 3/4 cup of the ganache frosting over the caramel.
4. Sprinkle 1 teaspoon of the fleur de sel over the frosting, then top with the second cake layer.
5. Spread with caramel frosting and sprinkle with 1 teaspoon of the fleur de sel.
6. Then top with the third layer. Spread with caramel.
7. Crumb coat the cake (see page 22) and put the cake in the refrigerator for 15 minutes to firm up the frosting.
8. Frost the sides and top with the remaining frosting.
9. Garnish with a sprinkle of fleur de sel.
10. This cake will keep beautifully in a cake saver at room temperature (cool and humidity free) for up to 3 days.
11. If your room is not cool, place the cake in a cake saver and refrigerate for up to 3 days.
12. Remove the cake from the refrigerator and let it sit at room temperature for at least 2 hours before serving.
Sweet and Salty Cake – PHOTO TUTORIAL
Adapted Recipe by Carmen of Baking is my Zen

Make the Classic Chocolate Cake Layers
Preheat the oven to 325 degrees Fahrenheit.
How to size parchment to fit baking pans.

Cut parchment to the size of the pan.

Fold parchment paper in half.


Fold parchment paper again.


Fold again, this time making a point. See photo.


From the center, place the point of the paper in the center of the pan.
Put a crease where the edge of the pan and paper meet.
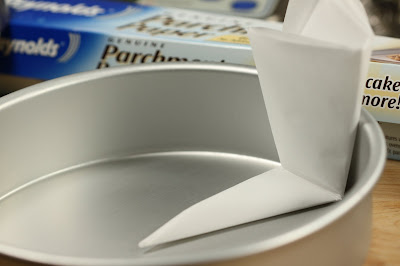
Put a crease where the edge of the pan and paper meet.

Cut along the crease.


Fan out the paper.


Butter (I use Cake Release) three 8-inch round cake pans, line the bottoms with parchment paper, and butter the parchment.


Dust with flour (I use cocoa powder), and knock out the excess flour.


In a medium bowl, combine the cocoa powder, hot water, and sour cream
and set aside to cool.


Sift the flour, baking powder, baking soda, and salt together into a medium bowl and set aside.

In the bowl of an electric mixer fitted with the paddle attachment, beat the butter and shortening on medium speed until ribbonlike, about 5 minutes.


Add the sugars and beat until light and fluffy, about 5 minutes.

Add the eggs, one at a time, beating well after each addition, then add the vanilla and beat until incorporated.


Scrape down the bowl and mix again for 30 seconds.
Add the flour mixture, alternating with the cocoa mixture, in three additions, beginning and ending with the flour mixture.
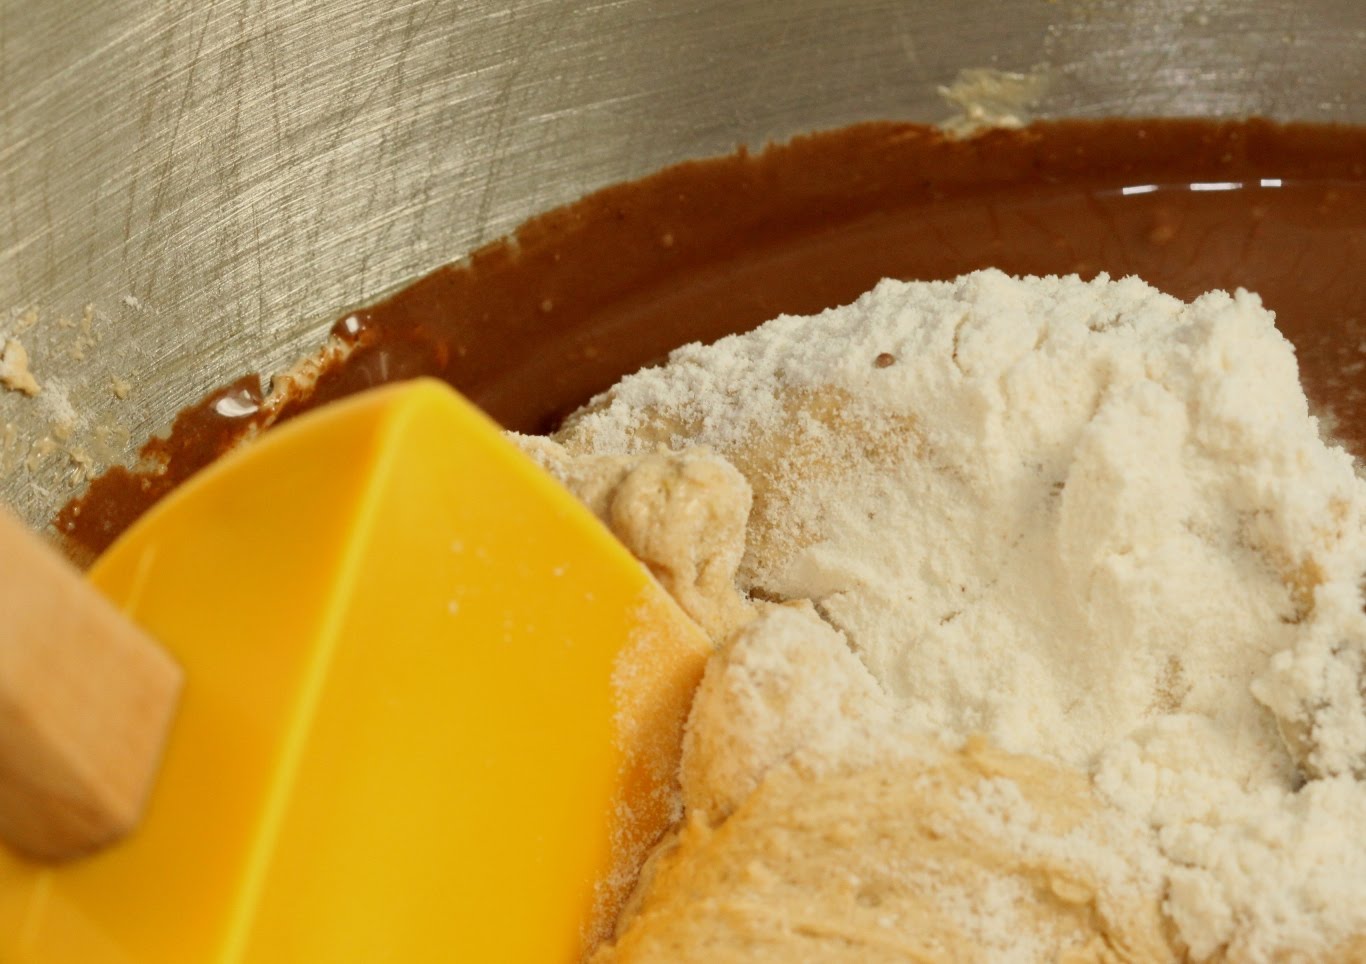
Divide the batter among the prepared pans and smooth the tops.

Bake for 35 to 40 minutes, rotating the pans halfway through the baking time, until a toothpick inserted in the center of each cake comes out clean.
Transfer the cakes to a wire rack and let cool for 20 minutes.

Invert the cakes onto the rack, remove the pans, and let cool completely.

Remove the parchment.

Make the Salted Caramel
In a small saucepan, combine the heavy cream and fleur de sel.


Bring to a simmer over very low heat until the salt is dissolved.

Meanwhile, keeping a close eye on the heavy cream mixture so it doesn't burn,
in a medium saucepan combine 1/4 cup water, the sugar, and corn syrup, stirring them together carefully so you don't splash the sides of the pan.


Cook over high heat until an instant-read thermometer reads 350 degrees F., 6 to 8 minutes.

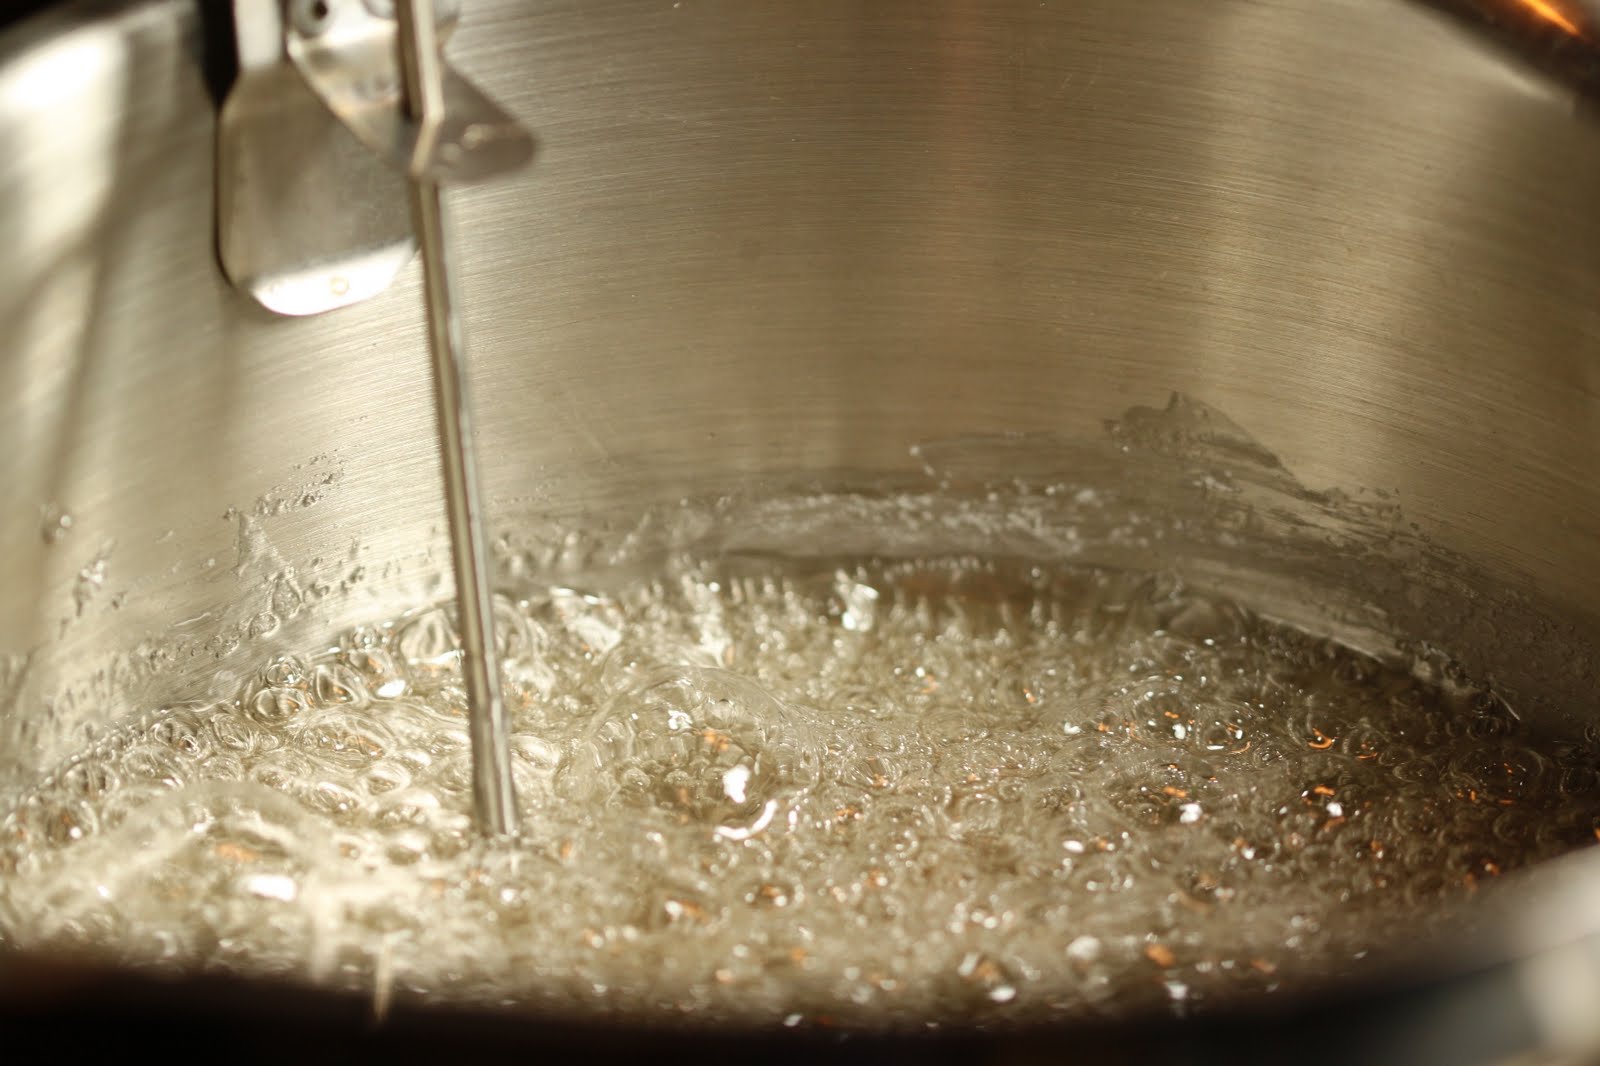
Remove from the heat and let cool for 1 minute.
Add the (strained) heavy cream mixture to the sugar mixture.

Whisk in the sour cream.


Let the caramel cool to room temperature, then transfer to an airtight container and refrigerate until you are ready to assemble the cake.

Make the Whipped Caramel Ganache Frosting
Put the chocolate in a large heatproof bowl and set aside.

In a small saucepan, bring the cream to a simmer over very low heat.

Meanwhile, keeping a close eye on the cream so it doesn't burn, in a medium saucepan
combine 1/4 cup water, the sugar, and corn syrup, stirring them together carefully so you don't splash the sides of the pan.

Cook over high heat until an instant-read thermometer reads 350 degrees F., 6 to 8 minutes.


Remove from the heat and let the caramel cool for 1 minute.

Add the (strained) cream to the caramel and stir to combine.


Stir slowly for 2 minutes, then pour the caramel over the chocolate.

Let the caramel and chocolate sit for 1 minute,

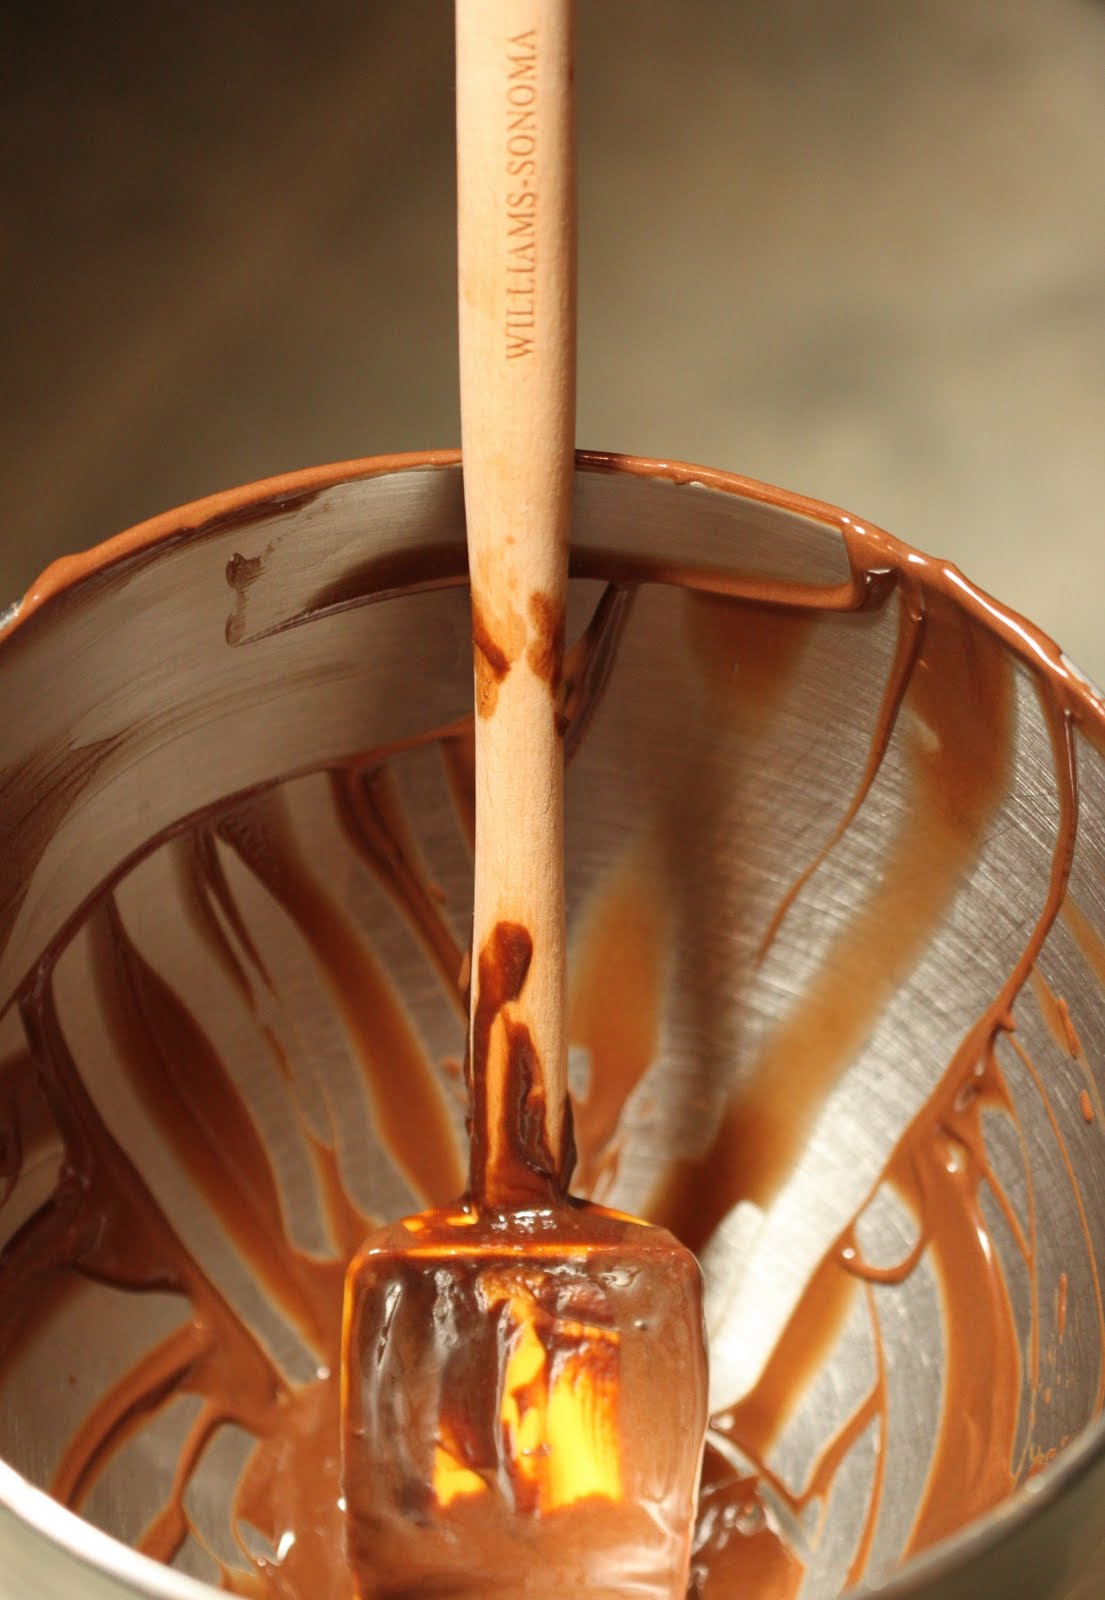
then, starting in the center of the bowl, and working your way out to the edges, slowly stir the chocolate and caramel mixture in a circle until the chocolate is completely melted.


Let the mixture cool, then transfer it to the bowl of an electric mixer fitted with the paddle attachment.

Mix on low speed until the bowl feels cool to the touch.
Increase the speed to medium-high and gradually add the butter, beating until thoroughly incorporated.

Scrape down the bowl and beat on high speed until the mixture is fluffy.

Assemble the Cake
Place one cake layer on a serving platter.
Spread 1/4 cup of the caramel over the top.


Let the caramel soak into the cake, then spread 3/4 cup of the ganache frosting over the caramel.


Sprinkle 1 teaspoon of the fleur de sel over the frosting, then top with the second cake layer.

Spread with caramel frosting and sprinkle with 1 teaspoon of the fleur de sel.

Then top with the third layer. Spead with caramel.
Crumb coat the cake (see page 22) and put the cake in the refrigerator for 15 minutes to firm up the frosting.


Frost the sides and top with the remaining frosting.
Garnish with a sprinkle of fleur de sel.

This cake will keep beautifully in a cake saver at room temperature (cool and humidity free) for up to 3 days.
If your room is not cool, place the cake in a cake saver and refrigerate for up to 3 days.
Remove the cake from the refrigerator and let it sit at room temperature for at least 2 hours before serving.
NOTE: To be eligible for the Cookbook Giveaway, all 7 posts must have comments as indicated in the rules.

Peace in Baking,
Carmen

Baking is my Zen…sweet nibbles for the soul